

How's your summer weaving going? Do you have a project you want to get done in the long summer days?


At our guild's spring "by-member, for-member" mini-workshop day, I shared my method of warping the loom "back-to-front".  I was asked to share my photo sequence, and since my posts on sectional warping seem to get a fair number of views, I thought I'd put these on this blog as well.

If I'm going to make a mixed warp, I will sometimes warp front-to-back, especially if I want to randomly mix the warp ends in the reed as I go. But most of the time I like to warp back-to-front.  It just seems to me like I'm "messing" less with the warp so it goes on the beam more cleanly.
If on your loom you (a) sley the reed, then (b) thread the heddles, then (c) wind your warp onto the warp beam, you are warping "front-to-back". Back-to-front warping basically reverses that process: wind, then thread, then sley.
You need a raddle for back-to-front. The raddle is like a really coarse comb that spreads the warp out gently as you wind it onto the beam. (There is a way to pre-sley a reed to act as a raddle, but I use a raddle.)
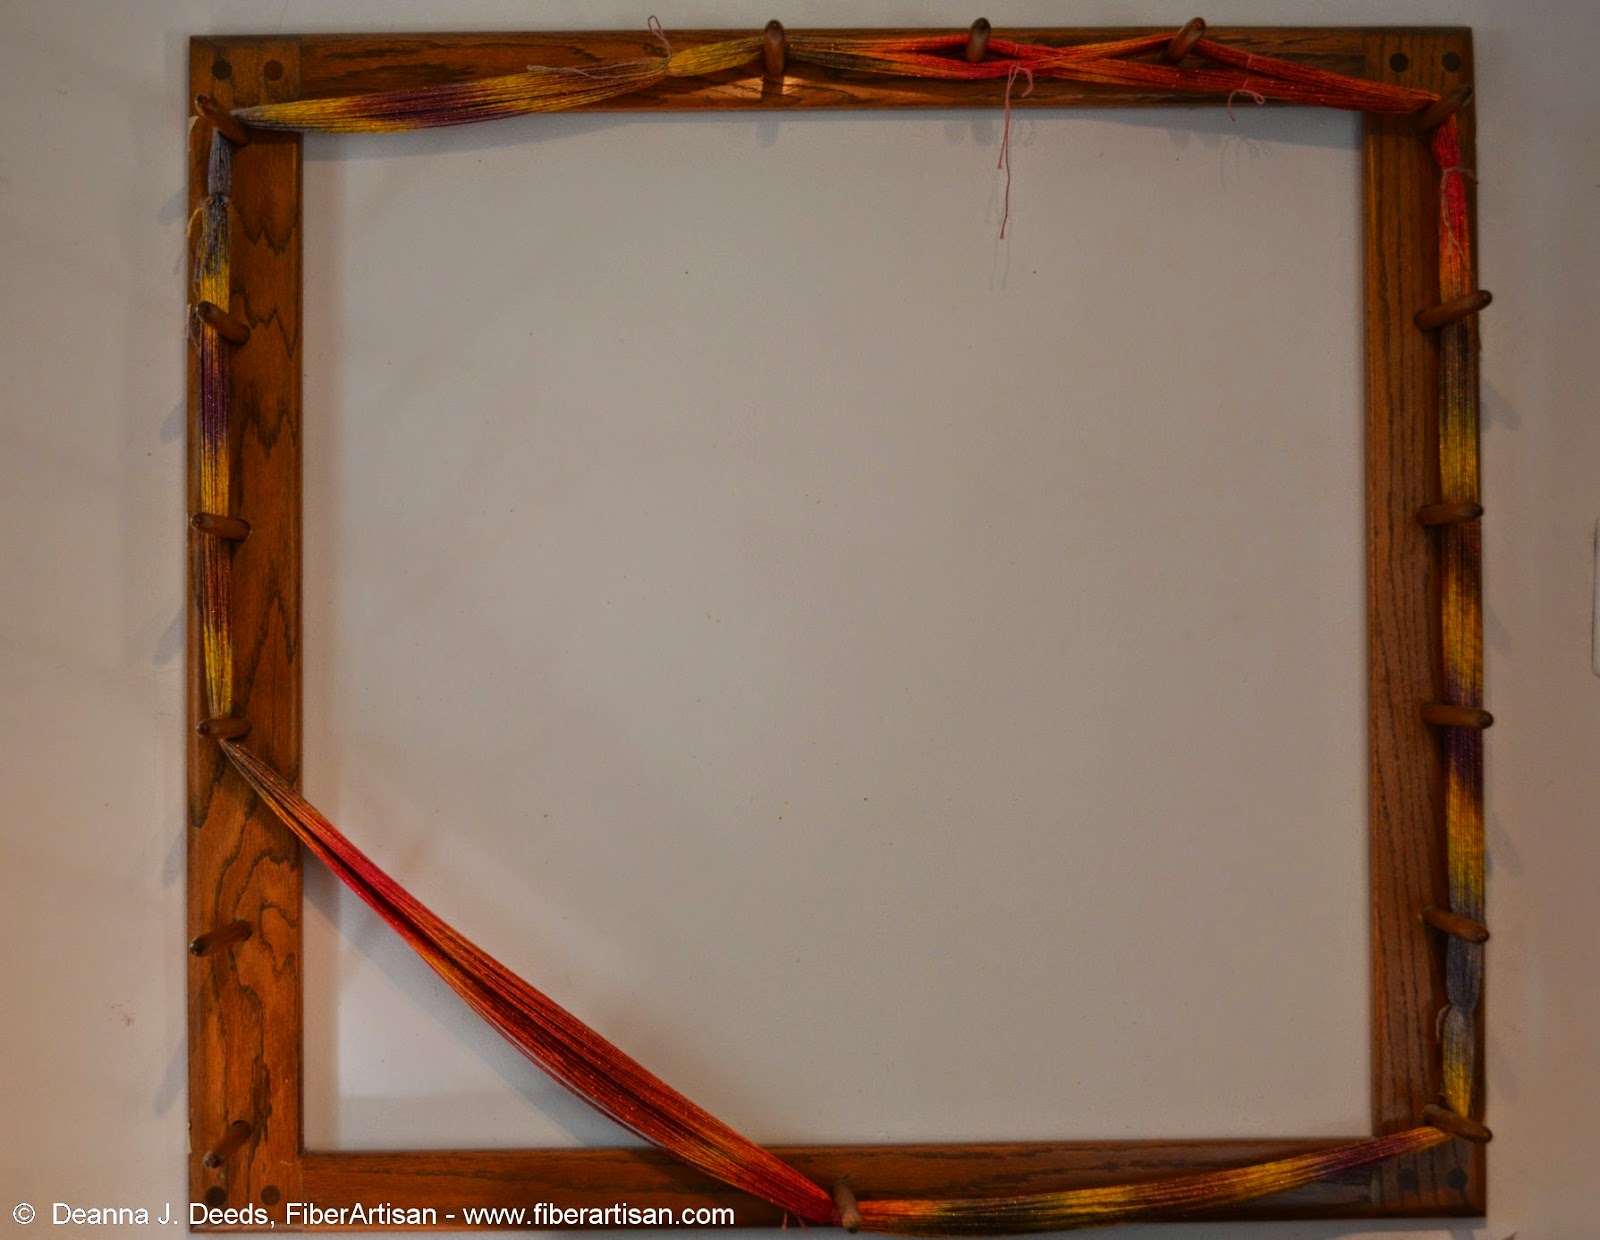
 1. The first step is the same, though: you need to make your warp! The only thing different is you need a way to tell yourself how to spread the warp out as it goes onto the warp beam. I make a regular thread-by-thread cross at one end of the warp...
 2. ...and make a "raddle cross" at the other end. (Instead, you can place a "counting thread" here.) Just mark somehow the number of threads that go into each section of your raddle. My raddle has one-inch sections,
so if for example I will be sleying at 24 epi, I count out 24 threads in one "arm" of the cross before switching to the other (or before placing a counting thread if you prefer).
2. ...and make a "raddle cross" at the other end. (Instead, you can place a "counting thread" here.) Just mark somehow the number of threads that go into each section of your raddle. My raddle has one-inch sections,
so if for example I will be sleying at 24 epi, I count out 24 threads in one "arm" of the cross before switching to the other (or before placing a counting thread if you prefer).
 3. Here are several warp chains draped over the loom. We are looking at the back of the loom. The thread-by-thread cross is away from us at the front, and the raddle cross is toward us at this end of the chains. I have
my warp beam's apron rod hanging from the back beam to help me hold it while I do the next step.
3. Here are several warp chains draped over the loom. We are looking at the back of the loom. The thread-by-thread cross is away from us at the front, and the raddle cross is toward us at this end of the chains. I have
my warp beam's apron rod hanging from the back beam to help me hold it while I do the next step.
 4. The loops at the near end are placed onto the apron rod, with the apron strings interspersed. You might attach your warp using a different method depending on your loom.
 5. Then I insert the raddle. Mine is just a wooden rack with dowels at 2" intervals; I added nails between them to make one-inch sections. The raddle is just clamped to the back beam.
 6. I take each warp chain's raddle cross and spread it in its appropriate sections in the raddle...
 7. ...until all sections are filled for the width of the warp. I might twine rubber bands over the pegs/nails if I'm worried they might "jump" out.
 8. I put a weight on a slip knot in each warp chain, proportional to the number of ends in the chains (i.e. if one of my chains has fewer warp ends, I put a smaller weight on that chain). The warp is coming from the weight
at the front of the loom, up over the castle, over the raddle on the back beam, and onto the warp beam. Your loom may dictate a different route than mine.
8. I put a weight on a slip knot in each warp chain, proportional to the number of ends in the chains (i.e. if one of my chains has fewer warp ends, I put a smaller weight on that chain). The warp is coming from the weight
at the front of the loom, up over the castle, over the raddle on the back beam, and onto the warp beam. Your loom may dictate a different route than mine.
 9. I find the winding on goes quite smoothly; I usually don't have to do any combing, jerking or tugging. I keep an eye on the raddle and keep any twists away from the pegs/nails. The weights keep a steady tension on the
warp.
9. I find the winding on goes quite smoothly; I usually don't have to do any combing, jerking or tugging. I keep an eye on the raddle and keep any twists away from the pegs/nails. The weights keep a steady tension on the
warp.
 10. When the weights reach the castle I just move them down to a new slip knot in the warp chain, so they have room to move up again.
 11. I add plenty of packing on the warp beam so "hills" don't develop for the warp to slide down.
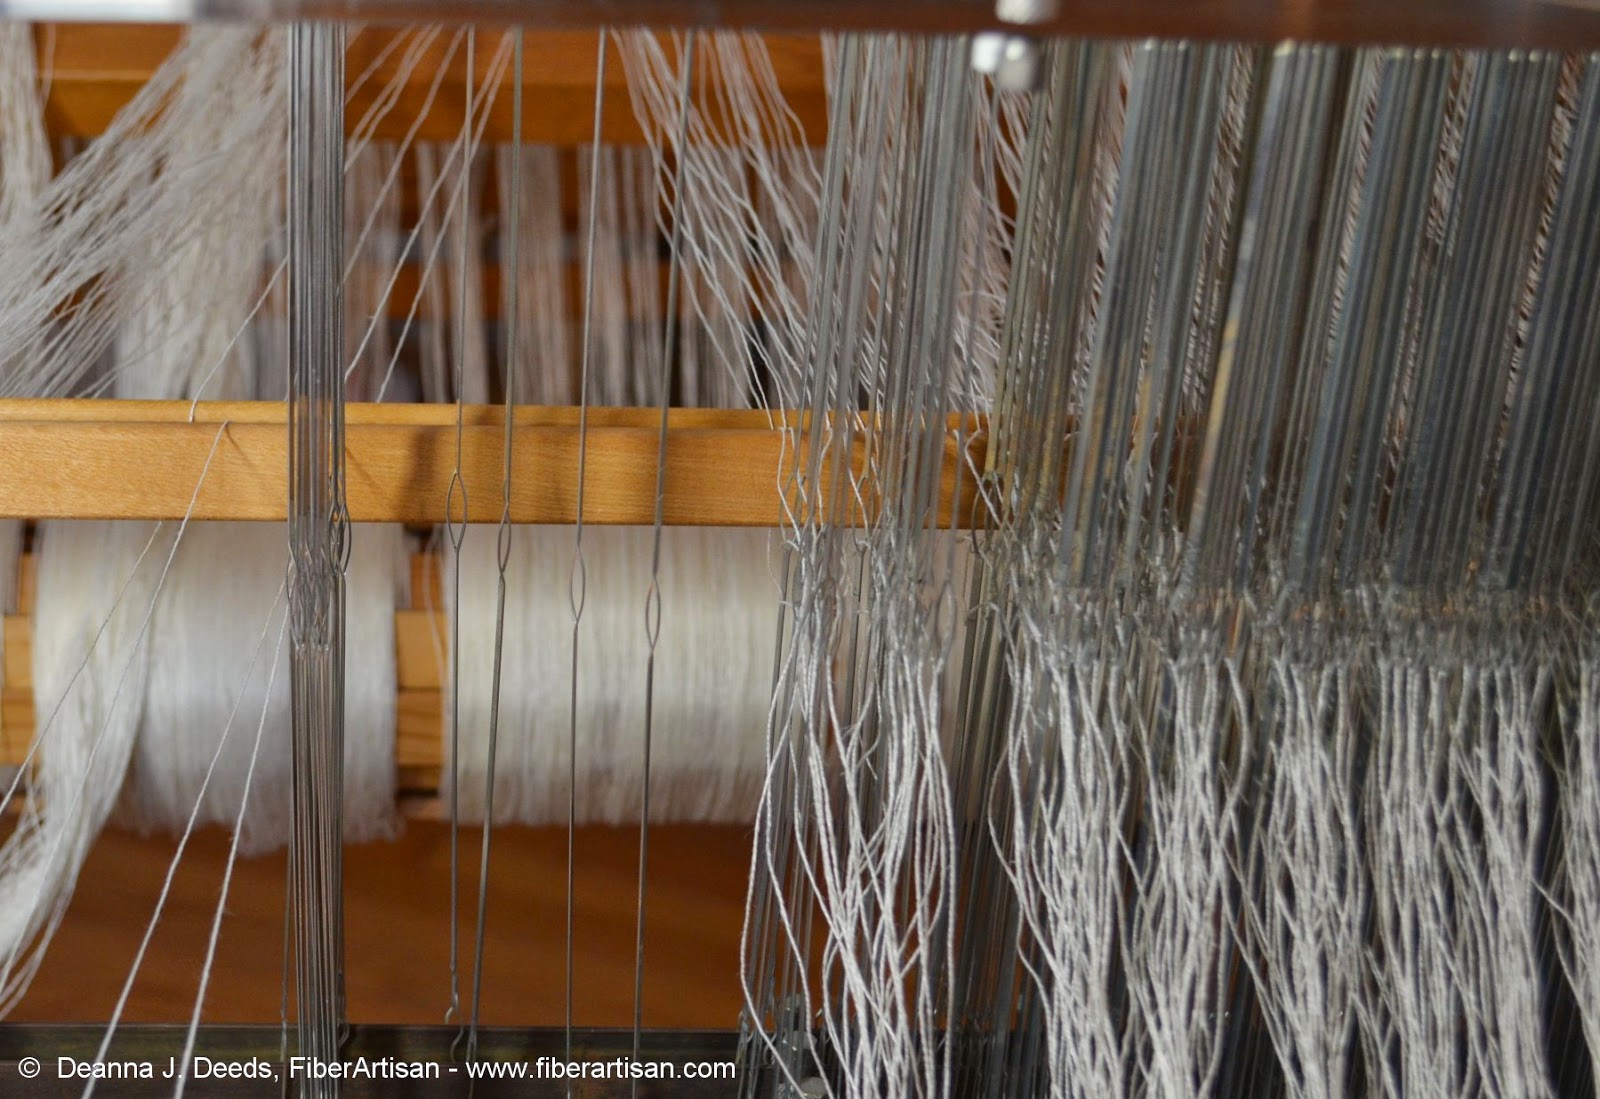
 12. Eventually the thread-by-thread cross is reached. I put that cross on lease sticks and hang the sticks behind the heddles.
 13. Now we're at the front of the loom, ready to thread. I set out a few heddles; I like to do 4 at a time...
 14. ...because that's how many threads I can hold.
 15. This makes it quick to thread those four, then move on to the next set.
 16. Finally we sley the reed, then tie on and tension as usual, and... ready to weave!
